Open Telemetry
Open Telemetry is a set of APIs, libraries, agents, and instrumentation to provide observability for applications. It provides a standard way to collect and export telemetry data such as traces, metrics, and logs from applications.
From Vendure v3.3, Vendure has built-in support for Open Telemetry, via the @vendure/telemetry-plugin package.
This package provides a set of decorators and utilities to instrument Vendure services and entities with Open Telemetry.
In this guide we will set up a local Vendure server with Open Telemetry, collecting traces and logs using the following parts:
- Open Telemetry: The standard for observability.
- Vendure Telemetry Plugin: Instruments the Vendure server & worker for Open Telemetry.
- Jaeger: A distributed tracing system that can be used to collect and visualize traces.
- Loki: A log aggregation system that can be used to collect and visualize logs.
- Grafana: A visualization tool that can be used to visualize traces and logs from Jaeger and Loki.
There are many other tools and services that can be used with Open Telemetry, such as Prometheus, Zipkin, Sentry, Dynatrace and others.
In this guide we have chosen some widely-used and open-source tools to demonstrate the capabilities of Open Telemetry.
Setup
Set up Jaeger, Loki & Grafana
We will be using Docker to run Jaeger, Loki, and Grafana locally. Create a file called docker-compose.yml
in the root of your project (standard Vendure installations already have one) and add the following contents:
You can start the services using the following command:
Once the images have downloaded and the containers are running, you can access:
- Jaeger at http://localhost:16686
- Grafana at http://localhost:3200
Install the Telemetry Plugin
Add the plugin to your Vendure config:
Set environment variables
In order to send telemetry data to the Jaeger and Loki services, you need to set some environment variables.
In a standard Vendure installation, there is an .env file in the root of the project. We will add the following:
Create a preload script
The Open Telemetry libraries for Node.js instrument underlying libraries such as NestJS, GraphQL, Redis, database drivers, etc. to collect telemetry data. In order to do this, they need to be preloaded before any of the Vendure application code. This is done by means of a preload script.
Create a file called preload.ts in the src dir of your project with the following contents:
There are many, many configuration options available for Open Telemetry. The above is an example that works
with the services used in this guide. The important things is to make sure the use the
getSdkConfiguration function from the @vendure/telemetry-plugin/preload package, as this will ensure that
the Vendure core is instrumented correctly.
To run the preload script, you need to set the --require flag when starting the Vendure server. We will
also set an environment variable to distinguish the server from the worker process.
You can do this by adding the following script to your package.json:
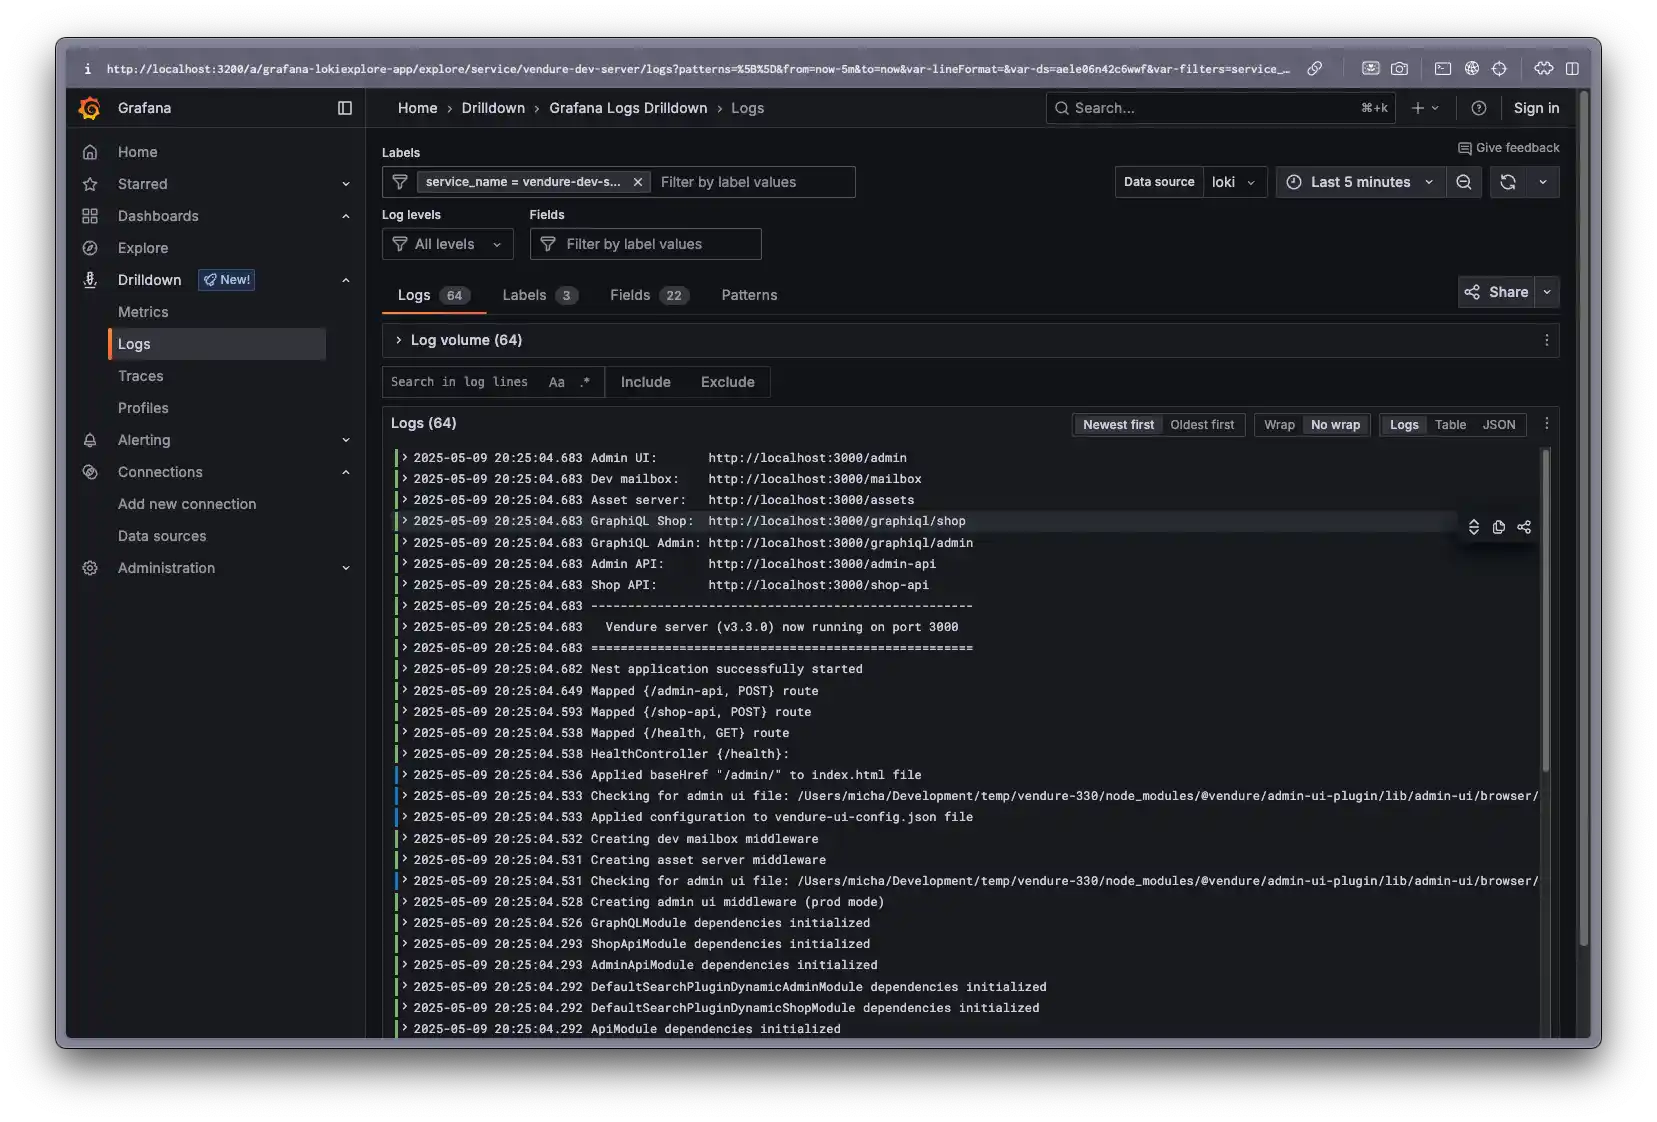
Viewing Logs
Once you have started up your server with the preload script, Loki should start receiving logs.
Let's take a look at the logs in Grafana.
Open the Grafana dashboard at http://localhost:3200 and select Connections > Data Sources from the left-hand menu. Then click the "Add data source" button.
Find "Loki" and select it. In the config form that opens, set the URL to http://loki:3100 and click "Save & Test".
Now you can select Drilldown > Logs from the left-hand menu. In the "Data source" dropdown, select "Loki".
Viewing Traces
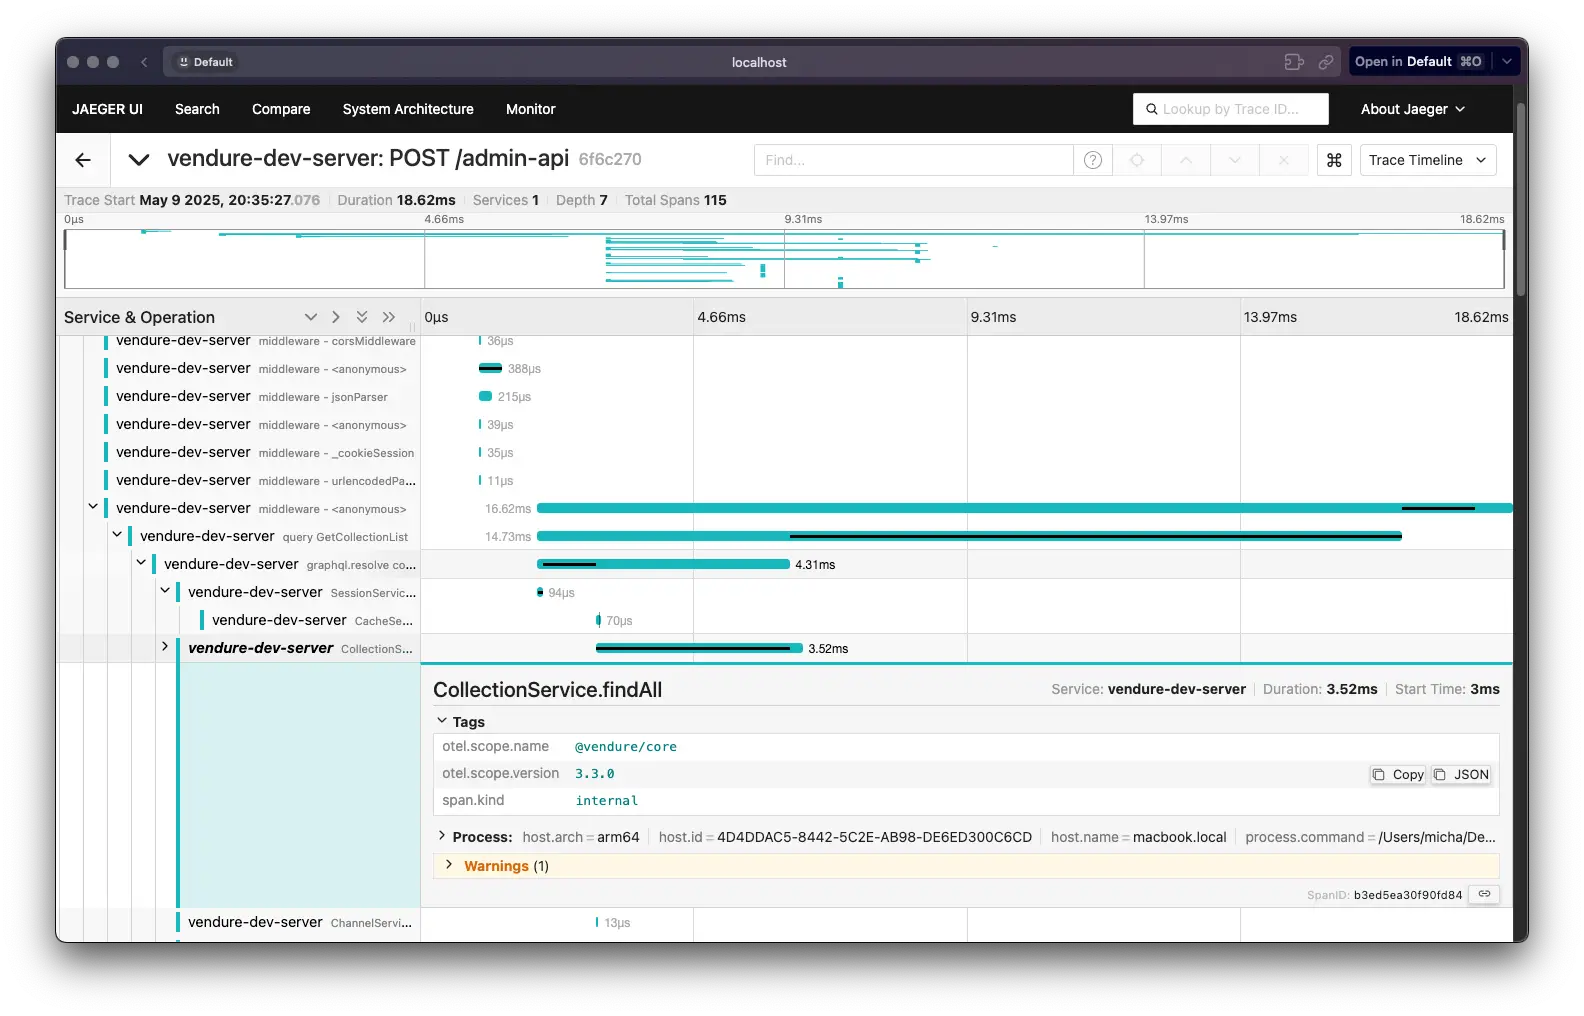
You can view traces in Jaeger by going to http://localhost:16686.
Select the "vendure-dev-server" service from the dropdown and click "Find Traces".
Clicking a trace will show you the details of the trace.
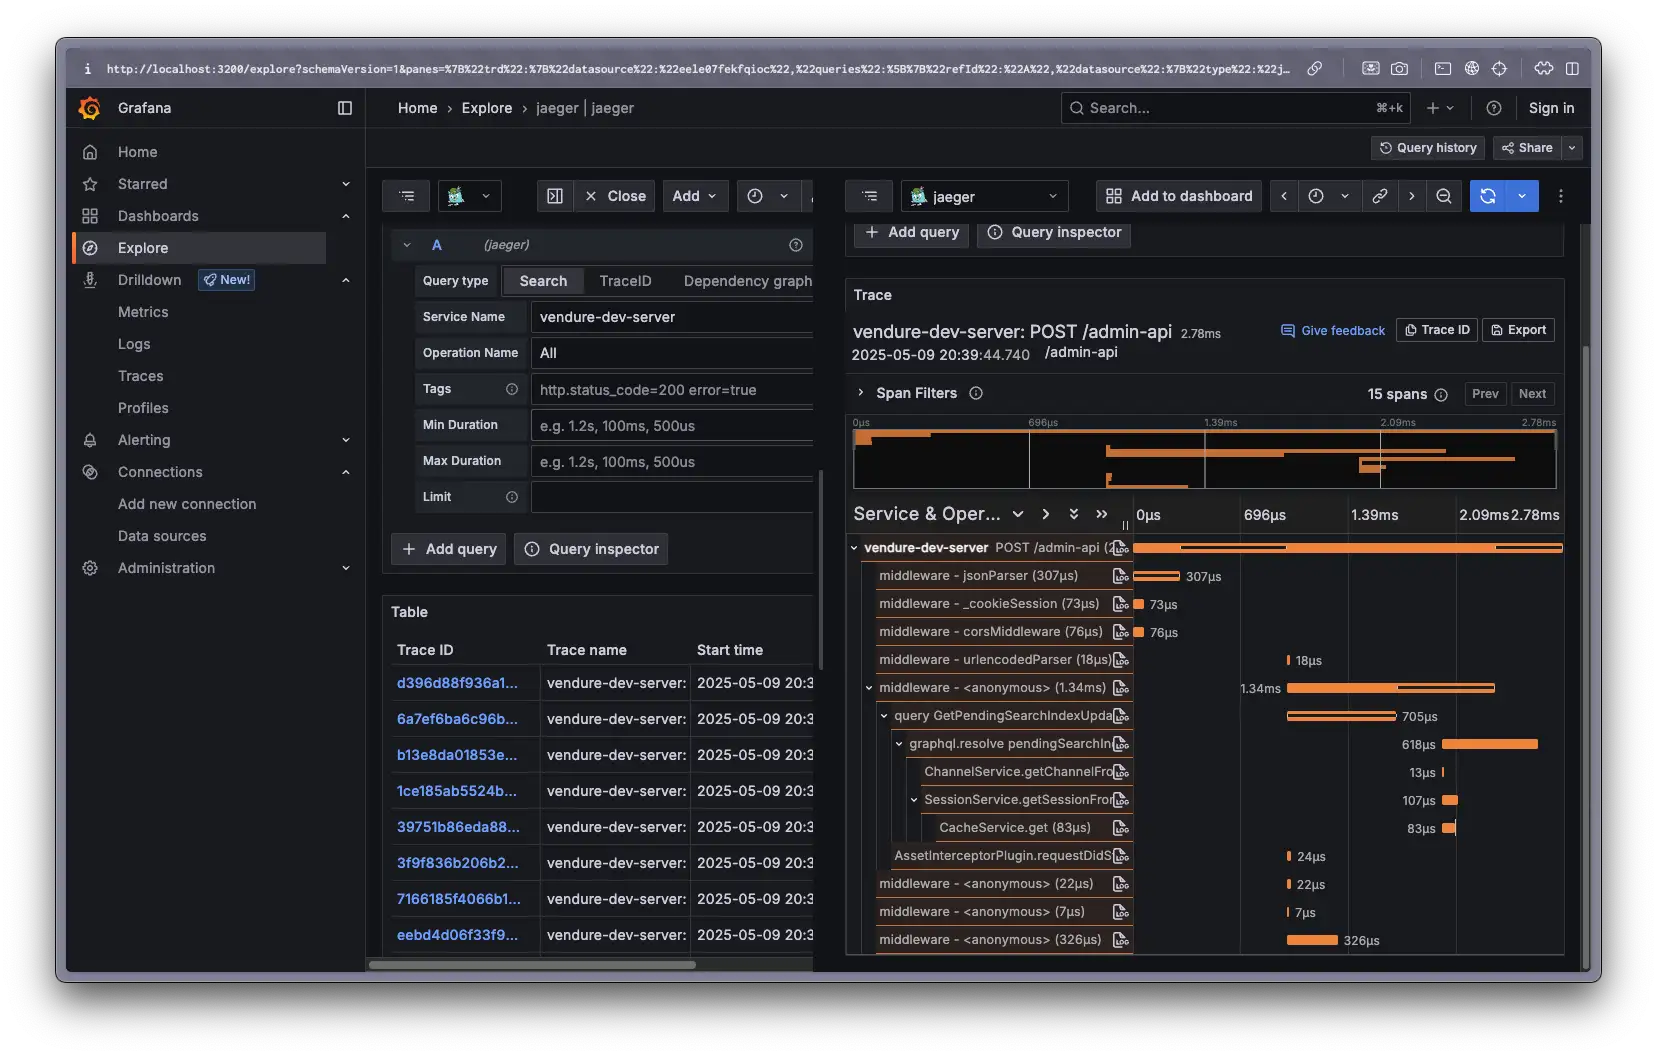
You can also view traces in Grafana by connecting it to Jaeger.
To do this, go to the Grafana dashboard at http://localhost:3200 and select Connections > Data Sources from the left-hand menu. Then click the "Add data source" button.
Find "Jaeger" and select it. In the config form that opens, set the URL to http://jaeger:16686 and click "Save & Test".
Now you can select Explore from the left-hand menu, select "Jaeger" from the dropdown and then click the "search" tab and select the "vendure-dev-server" service from the dropdown.
Clicking the blue "Run Query" button will show you the traces for that service.
Instrumenting Your Plugins
You can also instrument your own plugins and services with Open Telemetry. To do so, add the Instrument decorator to your service class:
You should now be able to see calls to MyService.myMethod in your traces.
You should not decorate GraphQL resolvers & REST controllers with this decorator. Those will
already be instrumented, and adding the @Instrument() decorator will potentially
interfere with other NestJS decorators on your resolver methods.


