Render is a managed hosting platform which allows you to deploy and scale your Vendure server and infrastructure with ease.
The configuration in this guide will cost from around $12 per month to run.
First of all you'll need to create a new Render account if you don't already have one.
For this guide you'll need to have your Vendure project in a git repo on either GitHub or GitLab.
If you'd like to quickly get started with a ready-made Vendure project which includes sample data, you can use our Vendure one-click-deploy repo, which means you won't have to set up your own git repo.
Render defines the port via the PORT environment variable and defaults to 10000, so make sure your Vendure Config uses this variable:
The following is already pre-configured if you are using the one-click-deploy repo.
Make sure your DB connection options uses the following environment variables:
The following is already pre-configured if you are using the one-click-deploy repo.
In this guide we will use the AssetServerPlugin's default local disk storage strategy. Make sure you use the
ASSET_UPLOAD_DIR environment variable to set the path to the directory where the uploaded assets will be stored.
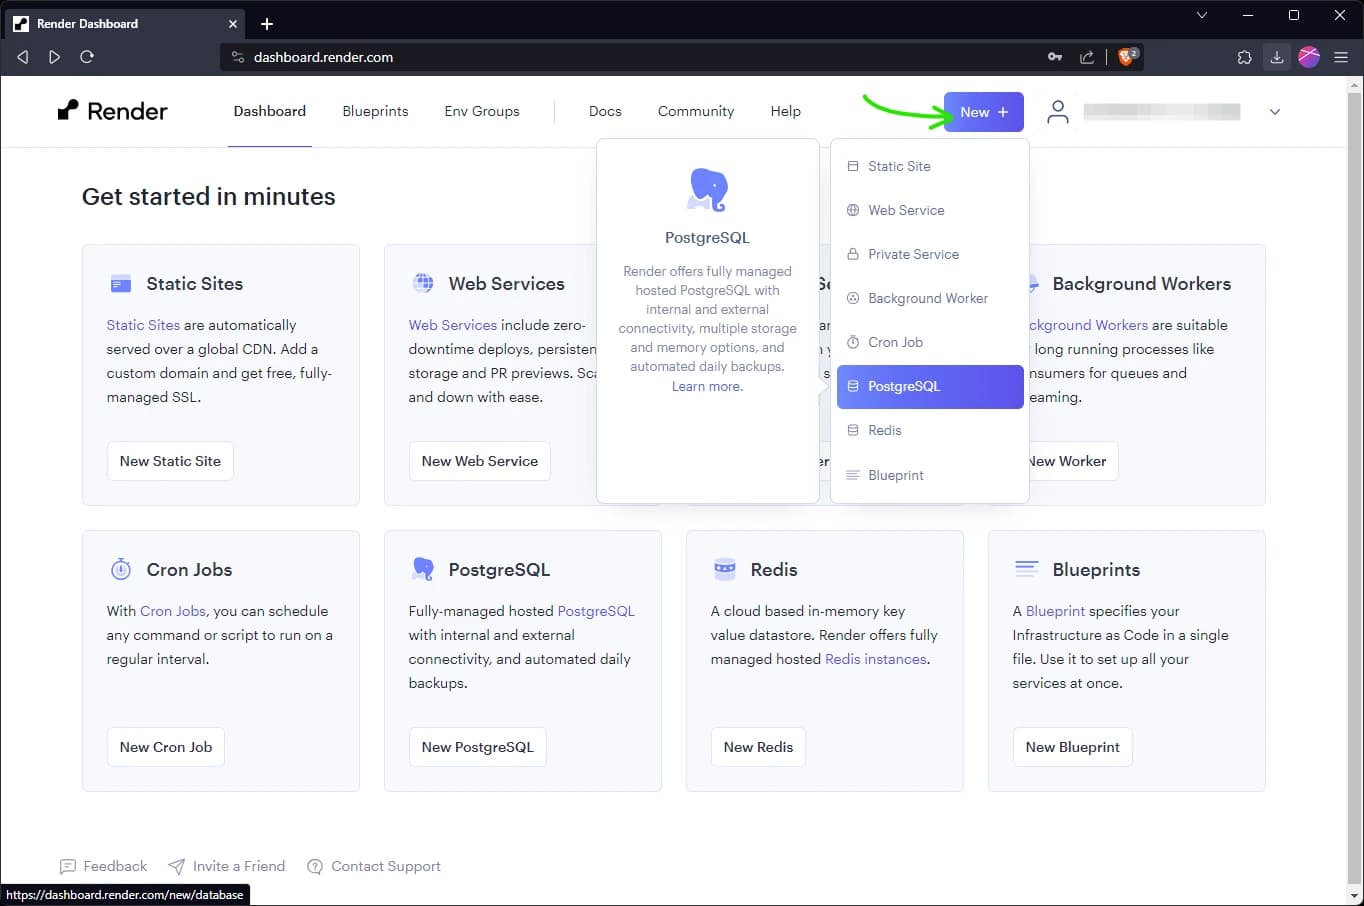
From the Render dashboard, click the "New" button and select "PostgreSQL" from the list of services:
Give the database a name (e.g. "postgres"), select a region close to you, select an appropriate plan and click "Create Database".
Click the "New" button again and select "Web Service" from the list of services. Choose the "Build and deploy from a Git repository" option.
In the next step you will be prompted to connect to either GitHub or GitLab. Select the appropriate option and follow the instructions to connect your account and grant access to the repository containing your Vendure project.
If you are using the one-click-deploy repo, you should instead use the "Public Git repository" option and enter the URL of the repo:
https://github.com/vendurehq/one-click-deploy
In the next step you will configure the server:
yarn; yarn build or npm install; npm run buildnode ./dist/index.jsClick the "Advanced" button to expand the advanced options:
/vendure-assets/healthnode ./dist/index.js (if you are not using a Dockerfile this option will not be available)Click "Create Web Service" to create the service.
If you have not already set up payment, you will be prompted to enter credit card details at this point.
Next we need to set up the environment variables which will be used by both the server and worker. Click the "Env Groups" tab and then click the "New Environment Group" button.
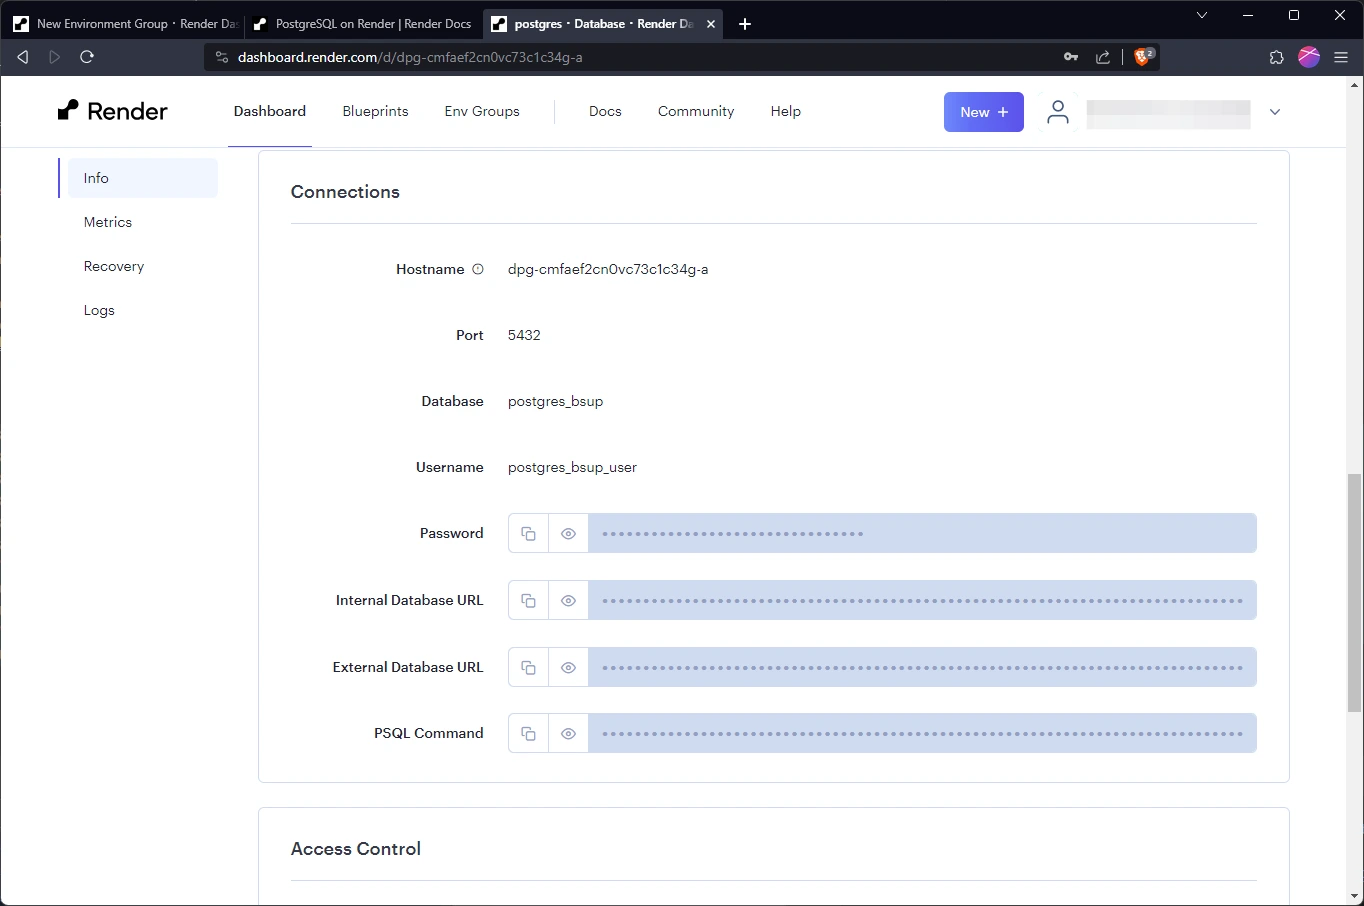
Name the group "vendure configuration" and add the following variables. The database variables can be found by navigating to the database service, clicking the "Info" tab and scrolling to the "Connections" section:
Once the correct values have been entered, click "Create Environment Group".
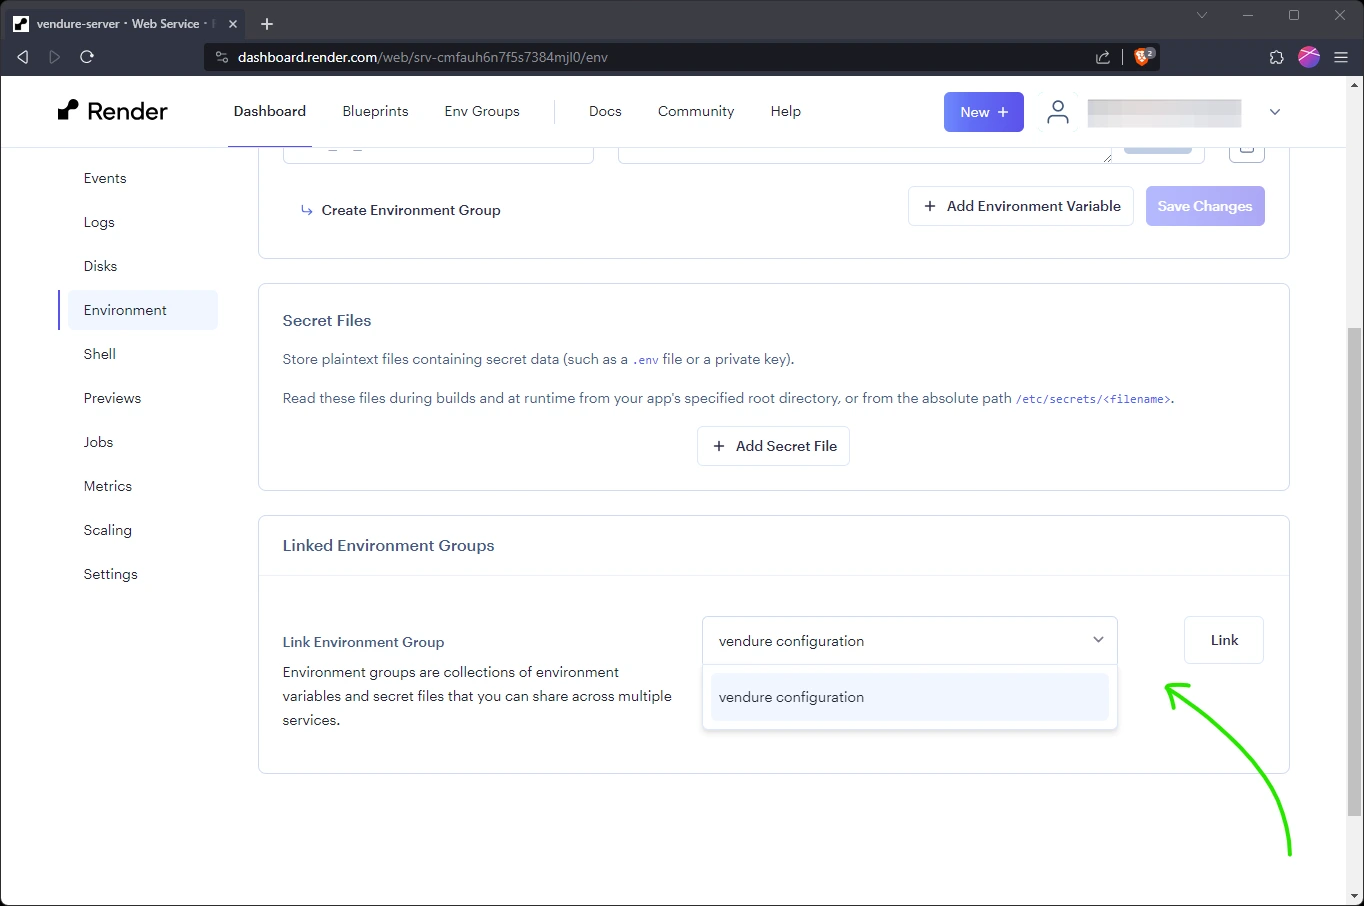
Next, click the "vendure-server" service and go to the "Environment" tab to link the environment group to the service:
Finally, we need to define the worker process which will run the background tasks. Click the "New" button and select "Background Worker".
Select the same git repo as before, and in the next step configure the worker:
yarn; yarn build or npm install; npm run buildnode ./dist/index-worker.jsClick the "Advanced" button to expand the advanced options:
node ./dist/index-worker.js (if you are not using a Dockerfile this option will not be available)Click "Create Background Worker" to create the worker.
Finally, click the "Environment" tab and link the "vendure configuration" environment group to the worker.
Navigate back to the dashboard, click the "vendure-server" service, and you should see a link to the temporary domain:
Click the link and append /admin to the URL to open the Admin UI. Log in with the username and password you set in the
environment variables.
This setup gives you a basic Vendure server to get started with. When moving to a more production-ready setup, you'll want to consider the following:
Vendure Cloud runs production Vendure for you. Autoscaling, observability, and zero-downtime deploys, built by the team behind Vendure.
See Vendure Cloud