Installation
Requirements
- Node.js v20, v22 and v24 - these versions are tested and supported. (Odd-numbered versions above v20 should still work but are not officially supported.)
Optional
- Docker Desktop: If you want to use the quick start with Postgres, you must have Docker Desktop installed. If you do not have Docker Desktop installed, then SQLite will be used for your database.
- If you want to use an existing MySQL, MariaDB, or Postgres server as your data store, then you'll need an instance available locally. However, if you are just testing out Vendure, we recommend the quick start option, which handles the database for you.
@vendure/create
The recommended way to get started with Vendure is by using the @vendure/create tool. This is a command-line tool which will scaffold and configure your new Vendure project and install all dependencies.
Quick Start
First, run the following command in your terminal, replacing my-shop with the name of your project:
Next, choose the "Quick Start" option. This is the fastest way to get a Vendure server up and running and will handle all the configuration for you. If you have Docker Desktop installed, it will create and configure a Postgres database for you. If not, it will use SQLite.
Console
Next, you will be prompted to include an official storefront starter in your project. Vendure officially supports TanStack Start and Next.js starters. This step is optional, but recommended if you want to quickly see a working storefront connected to your Vendure server.
Console
And that's it! After a minute or two, you'll have a fully-functional Vendure server installed locally.
Once the installation is done, your terminal will output a message indicating a successful installation with:
- The URL to access the Dashboard
- Your admin log-in credentials
- The project file path
Proceed to the Start the server section below to run your Vendure server.
Manual Configuration
If you'd rather have more control over the configuration, you can choose the "Manual Configuration" option. This will prompt you to select a database and whether to populate the database with sample data.
1. Select a database
Vendure supports a number of different databases. The @vendure/create tool will prompt you to select one.
To quickly test out Vendure, we recommend using SQLite, which requires no external dependencies. You can always switch to a different database later by changing your configuration file.
Console
Tip
If you select MySQL, MariaDB, or Postgres, you need to make sure you:
-
Have the database server running: You can either install the database locally on your machine, use a cloud provider, or run it via Docker. For local development with Docker, you can use the provided
docker-compose.ymlfile in your project. -
Have created a database: Use your database client to create an empty database (e.g.,
CREATE DATABASE vendure;in most SQL databases). -
Have database credentials: You need the username and password for a database user that has full permissions (CREATE, ALTER, DROP, INSERT, UPDATE, DELETE, SELECT) on the database you created.
For detailed database configuration examples, see the Configuration guide.
2. Populate with data
The final prompt will ask whether to populate your new Vendure server with some sample product data.
We recommend you do so, as it will give you a good starting point for exploring the APIs, which we will cover in the Try the API section, as well as providing some data to use when building your own storefront.
Console
3. Optional storefront setup
You can choose to include the official TanStack Start or Next.js Storefront Starter as part of your new Vendure project.
4. Complete setup
Next, a project scaffold will be created and dependencies installed. This may take a few minutes.
Once complete, you will see a message like this. This example uses the TanStack Start starter:
Console
Start the server
Follow the instructions to move into the new directory created for your project, and start the server:
You should now be able to access:
- The Vendure Admin GraphQL API: http://localhost:3000/admin-api
- The Vendure Shop GraphQL API: http://localhost:3000/shop-api
- The Vendure Dashboard: http://localhost:3000/dashboard
If you included a Storefront Starter, you can also access:
- The storefront: http://localhost:3001
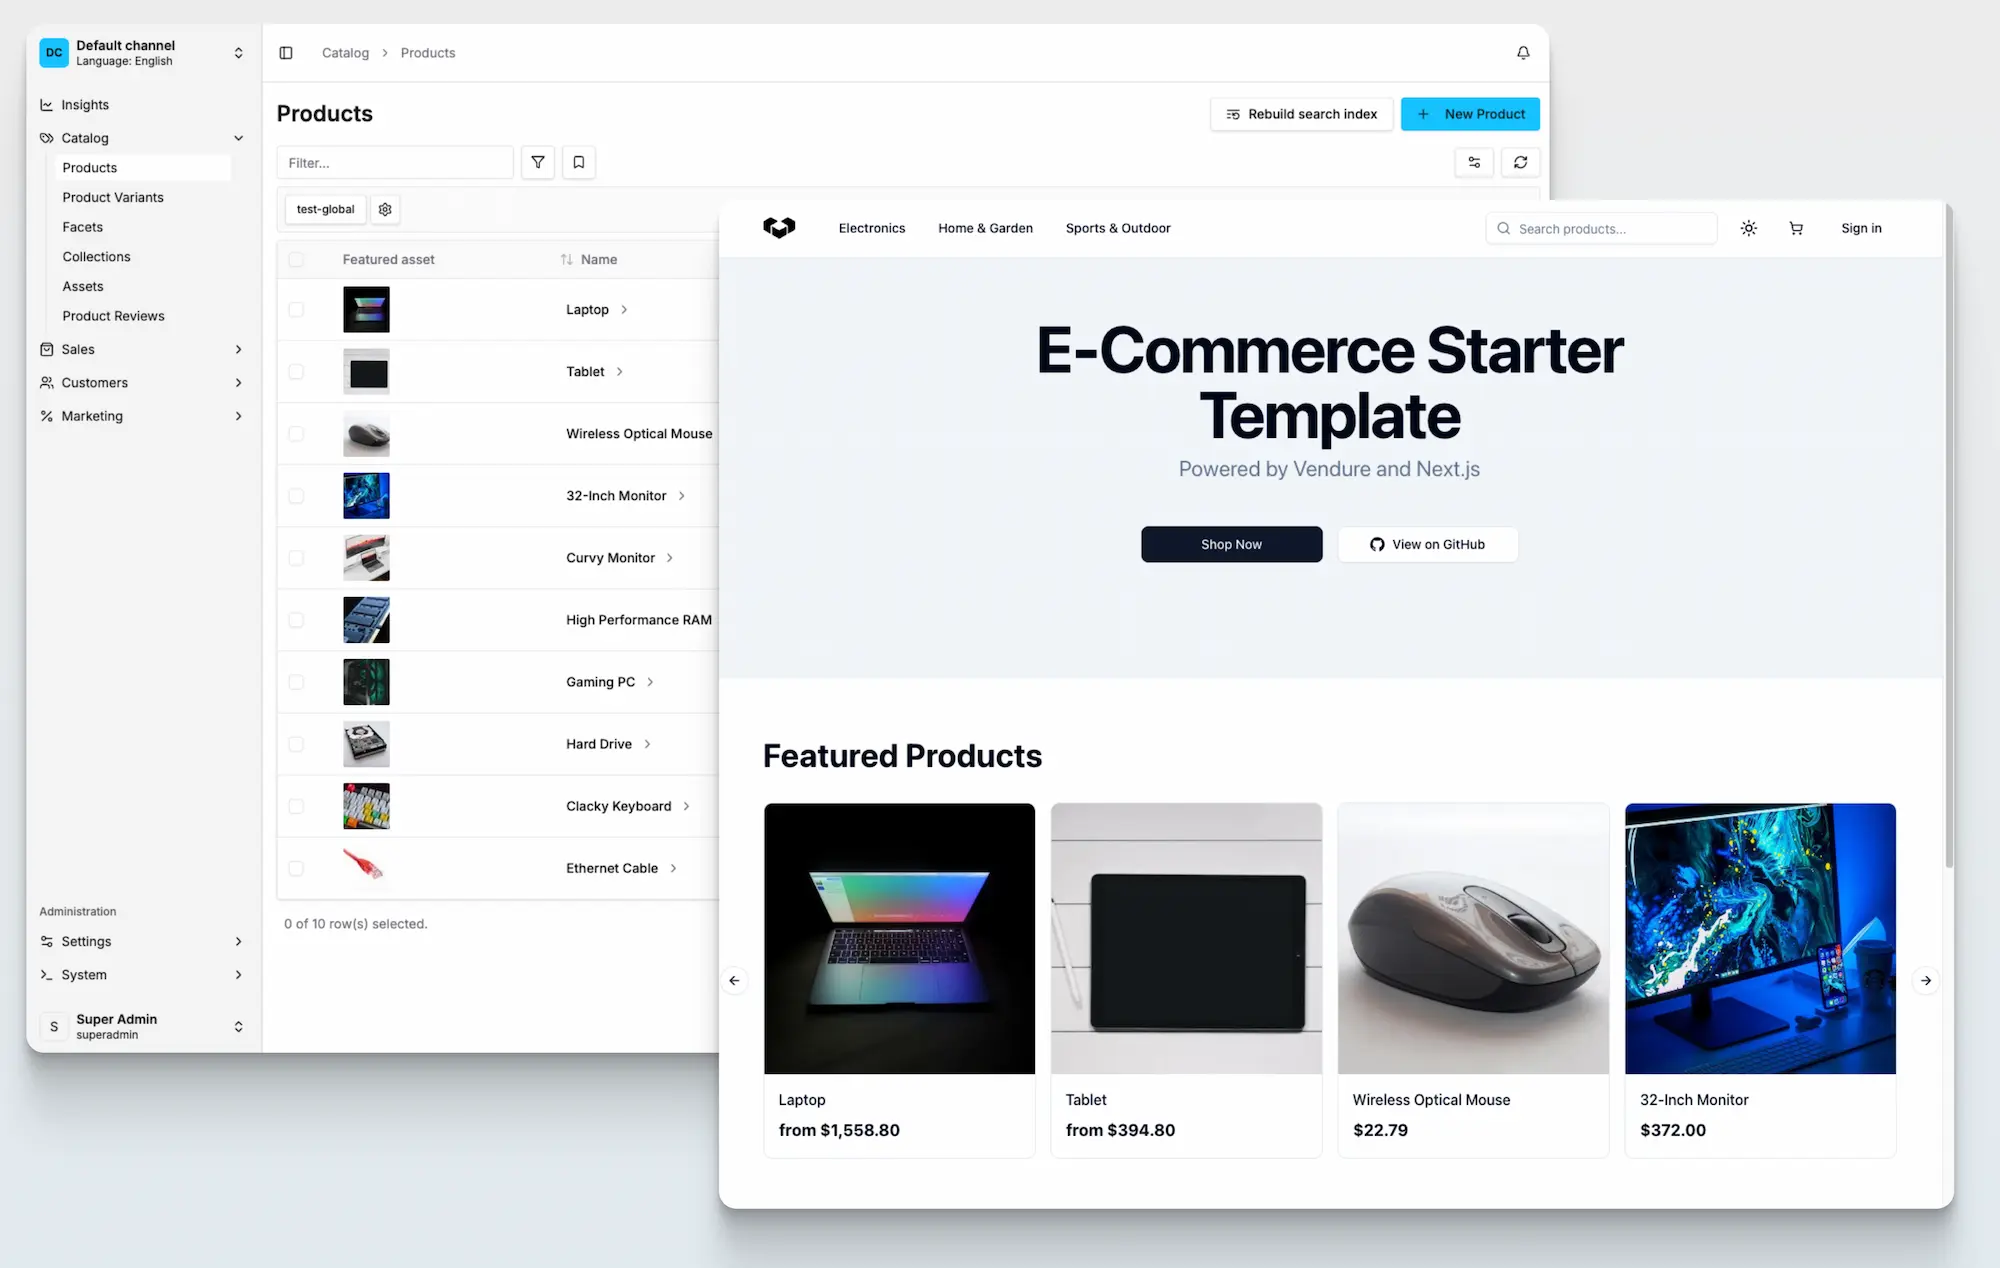
Congratulations! 🥳 You now have a fully functional Vendure server running locally.
Now you can explore Vendure by following our Try the API guide to learn how to interact with the server.
If you are new to GraphQL, you should also check out our Introducing GraphQL guide.
Tip
Open the Dashboard at http://localhost:3000/dashboard in your browser and log in with the superadmin credentials you specified, which default to:
- username: superadmin
- password: superadmin
Use npx vendure add to start adding plugins & custom functionality to your Vendure server.
Troubleshooting
-
If you encounter any issues during installation, you can get a more detailed output by setting the log level to
verbose: -
The supported TypeScript version is set upon installation. Upgrading to a newer version of TypeScript might result in compilation errors because TypeScript sometimes introduces stricter checks in newer versions.
-
If you want to use Yarn, from Vendure v2.2.0+, you'll need to use Yarn 2 (Berry) or above.
Was this chapter helpful?