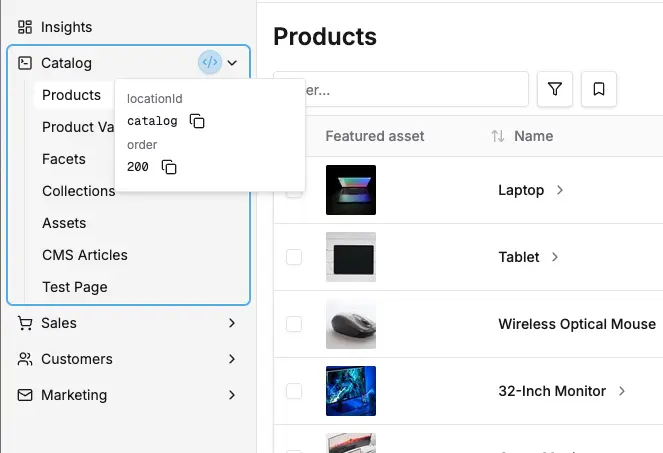
The dashboard provides a flexible navigation system that allows you to add custom navigation sections and menu items. Navigation items are organized into sections that can be placed in either the "Platform" (top) or "Administration" (bottom) areas of the sidebar.
The simplest way to add navigation is to add menu items to existing sections. This is done automatically when you define routes with navMenuItem properties.
The dashboard comes with several built-in sections that can receive route navMenuItem entries:
catalog - For product-related functionalitysales - For order managementcustomers - For customer managementmarketing - For promotions and marketing toolssettings - For configuration and admin settingssystem - For system tools such as the job queue and scheduled tasksThe Insights entry has the ID insights, but it is a top-level navigation item, not a section with child items. Do not use insights as a route navMenuItem.sectionId.
You can find the available IDs & their order value for all navigation sections and items using :
You can create entirely new navigation sections with their own icons and ordering:
For documentation on all the configuration properties available, see the reference docs:
The navigation sidebar is divided into two areas:
'top'): The "Platform" area for core functionality (Dashboard, Catalog, Sales, etc.)'bottom'): The "Administration" area for system and configuration sections (System, Settings):::important Order Scoping Order values are scoped within each placement area. This means:
Top Placement (Platform):
Bottom Placement (Administration):
This means if you want to add a section between Catalog and Sales in the top area, you might use order: 250. If you want to add a section between Settings and System in the bottom area, you could use order: 150.
If you don't specify a placement, sections default to 'top' placement.
The navSections property can also be a function. Use this form when you need full control over the existing navigation structure, including moving, removing, renaming, or reordering built-in sections and items.
The function receives the fully registered navigation config after all array-form navSections and route navMenuItem registrations have been applied. Return a new config object rather than mutating the input.
Use Dev Mode or the Extension Targets reference to find built-in navigation IDs.
By default, all navigation is assumed to be for authenticated routes, i.e. the routes are only accessible to administrators who are logged in.
Sometimes you want to make a certain route accessible to unauthenticated users. For example, you may want to implement a completely custom login page or a password recovery page, which must be accessible to everyone.
This is done by setting authenticated: false in your route definition:
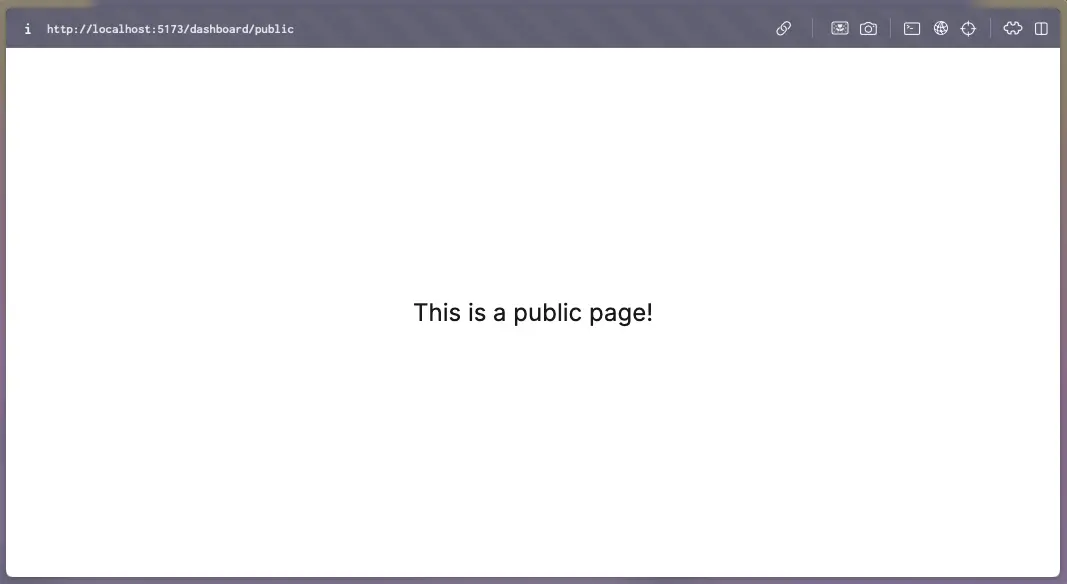
This page will then be accessible to all users at http://localhost:4873/dashboard/public
Here's a comprehensive example showing how to create a complete navigation structure for a content management system:
The dashboard uses Lucide React icons. You can import any icon from the library:
Common icons for navigation sections:
FileTextIcon, EditIcon, BookOpenIconImageIcon, FolderIcon, UploadIconBarChartIcon, TrendingUpIcon, PieChartIconWrenchIcon, SettingsIcon, CogIconLinkIcon, ZapIcon, PlugIconArchitecture reviews, custom plugin work, migrations, ongoing support. Get a hand from the team that builds Vendure.
Talk to the team