The Angular-based Admin UI has been replaced by the new React Admin Dashboard. The Angular Admin UI will not be maintained after July 2026. Until then, we will continue patching critical bugs and security issues. Community contributions will always be merged and released.
For new projects, use the React Admin Dashboard instead.
If you want to use the Admin UI and the Dashboard together, both plugins can now be used simultaneously without any special configuration.
When creating a plugin, you may wish to extend the Admin UI in order to expose a graphical interface to the plugin's functionality, or to add new functionality to the Admin UI itself. The UI can be extended with custom components written in Angular or React.
The APIs described in this section were introduced in Vendure v2.1.0. For the legacy APIs, see the Legacy API section.
UI extensions fall into two categories:
providers.ts.routes.tsFirst, install the @vendure/ui-devkit package as a dev dependency:
If you plan to use React components in your UI extensions, you should also install the @types/react package:
You can then create the following folder structure to hold your UI extensions:
src
├── vendure-config.ts
└── plugins
└── my-plugin
└── ui
├── routes.ts
└── providers.ts
Let's add a simple UI extension that adds a new button to the "order list" page. We'll leave the routes file empty for now.
Now we can configure the paths to your UI extension files. By convention, we will add this config object as a static property on your plugin class:
You can then use the compileUiExtensions function to compile your UI extensions and add them to the Admin UI app bundle.
Now when you start the server, the following will happen:
admin-ui will be created in the root of your project (as specified by the outputPath option). This is a temporary directory (it should not be added to version control) which will contain the source files of your custom Admin UI app.compileUiExtensions function will be called, which will compile the Admin UI app and serve it in development mode. The dev server will be listening on port 4200 but this port will also be proxied to port 3000 (as specified by apiOptions.port). This step can take up to a minute or two, depending on the speed of your machine.Note: the TypeScript source files of your UI extensions must not be compiled by your regular TypeScript build task.
This is because they will instead be compiled by the Angular compiler when you run compileUiExtensions().
You can exclude them in your main tsconfig.json by adding a line to the "exclude" array (this is already defined on a default Vendure project):
How It Works: The Admin UI is an Angular application, and to generate a custom UI including your extensions, it is internally using the powerful Angular CLI to compile the app into an optimized bundle, including code-splitting and lazy-loading any routes which you define.
Your providers.ts file exports an array of objects known as "providers" in Angular terminology. These providers are passed to the application on startup to configure new functionality.
With providers you can:
addActionBarItem.addNavMenuItem and addNavMenuSection.registerBulkAction.registerCustomDetailComponent or registerReactCustomDetailComponentregisterDashboardWidgetregisterDataTableComponent or registerReactDataTableComponentregisterFormInputComponent or registerReactFormInputComponentregisterHistoryEntryComponentA providers file should have a default export which is an array of providers:
When defining UI extensions in the compileUiExtensions() function, you must specify at least one providers file.
This is done by passing an array of file paths, where each file path is relative to the directory specified by the extensionPath option.
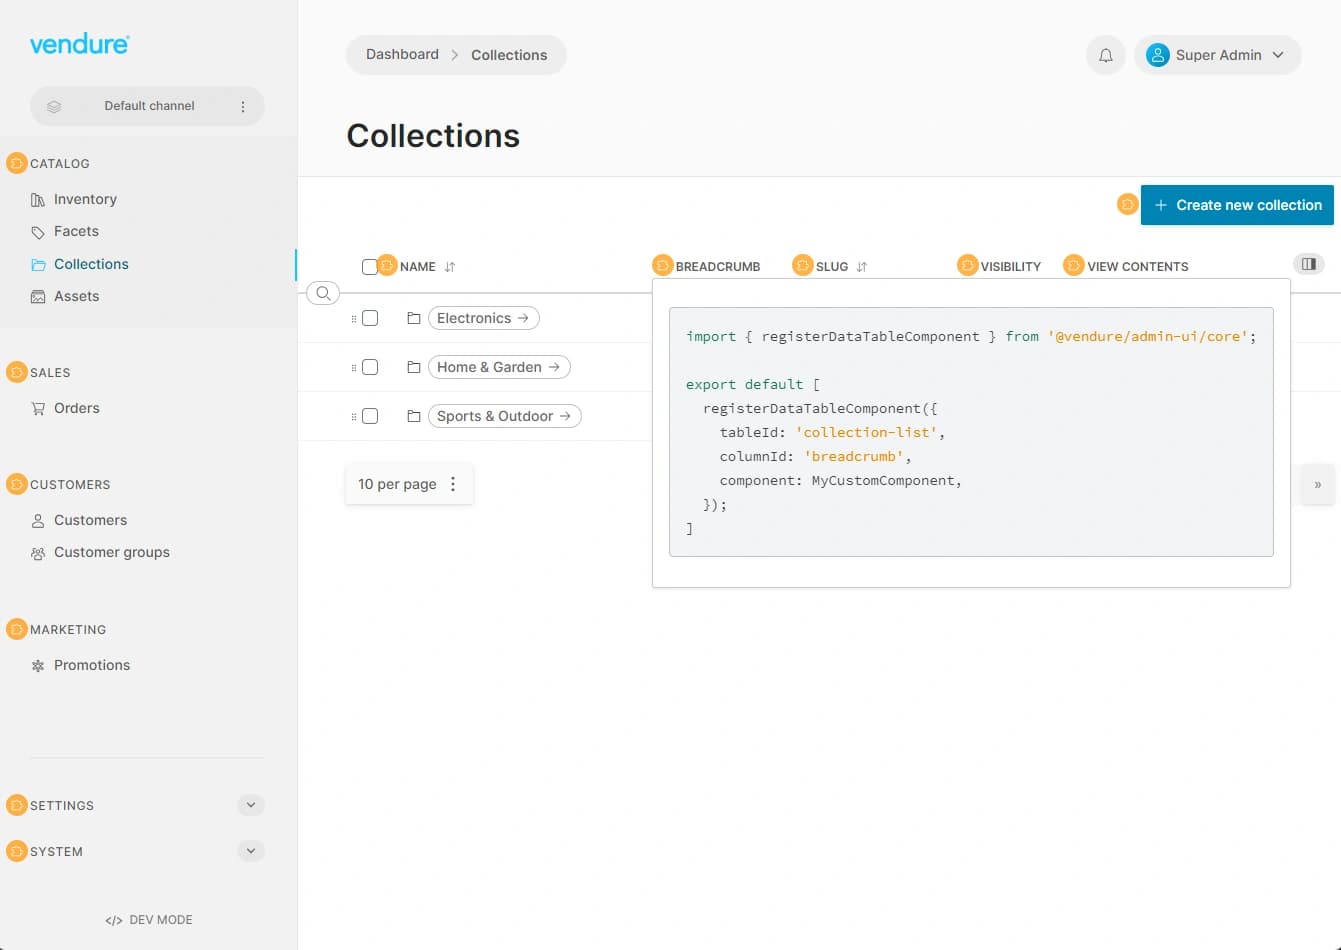
When running the Admin UI in dev mode, you can use the ctrl + u keyboard shortcut to see the location of all UI extension points.
Clicking on an extension point will display a code snippet which you can copy and paste into your providers.ts file.
In addition to the specialized UI extension providers listed above, the providers array can also contain any kind of Angular providers which you want to use inside your custom logic. For example, we can define a custom service, add it to the providers array and then consume it from within another provider:
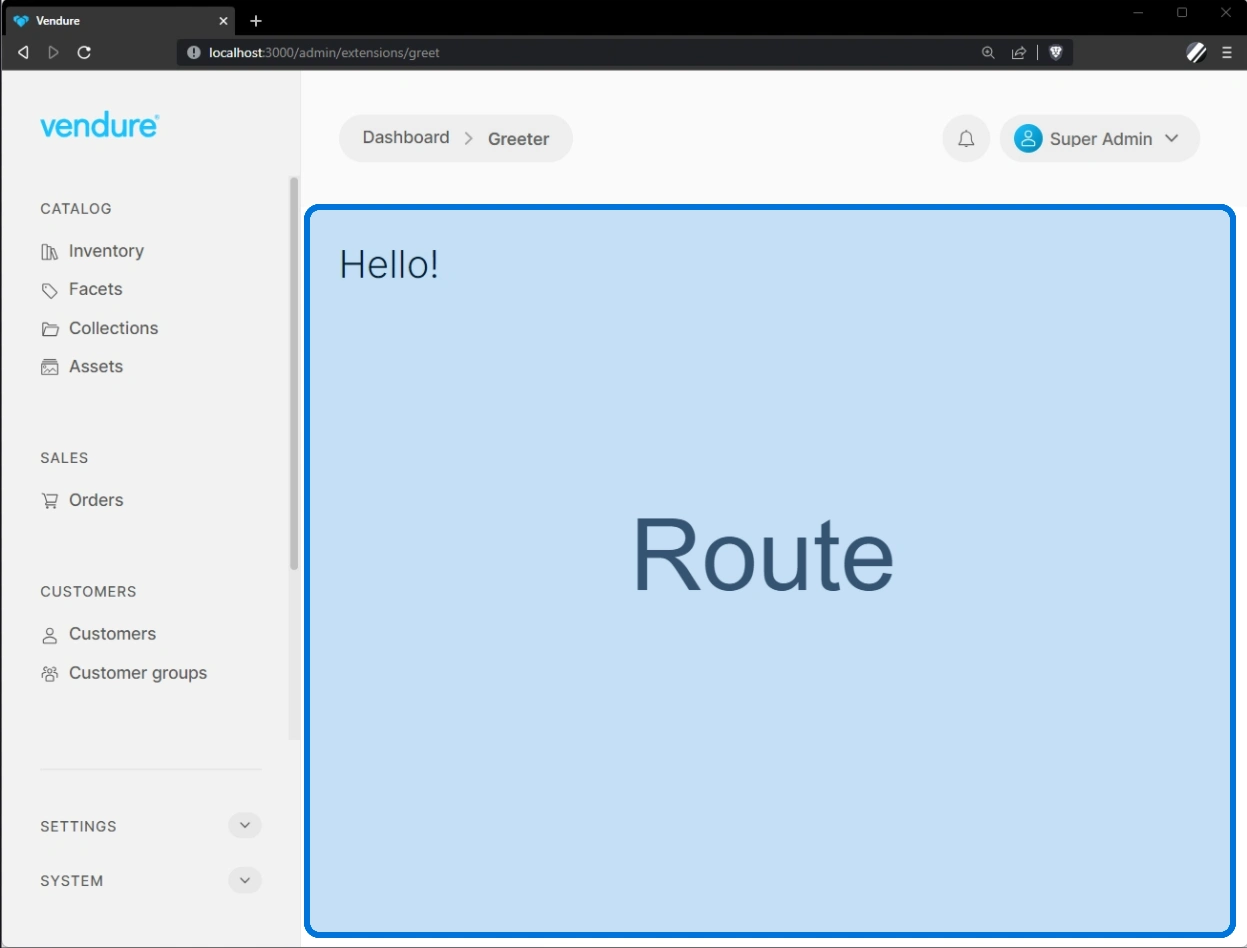
Routes allow you to define completely custom views in the Admin UI.
Your routes.ts file exports an array of objects which define new routes in the Admin UI. For example, imagine you have created a plugin which implements a simple content management system. You can define a route for the list of articles, and another for the detail view of an article.
For a detailed instructions, see the Defining Routes guide.
When you are developing your Admin UI extension, you can set the devMode option to true which will compile the Admin UI app in development mode, and recompile and auto-refresh the browser on any changes to your extension source files.
Although the examples so far all use the compileUiExtensions function in conjunction with the AdminUiPlugin, it is also possible to use it on its own:
This can then be run from the command line:
Once complete, the production-ready app bundle will be output to admin-ui/dist/browser. This method is suitable for a production setup, so that the Admin UI can be compiled ahead-of-time as part of your deployment process. This ensures that your Vendure server starts up as quickly as possible. In this case, you can pass the path of the compiled app to the AdminUiPlugin:
To compile the angular app ahead of time (for production) and copy the dist folder to Vendure's output dist folder, include the following commands in your package.json scripts:
"build:admin" will remove the admin-ui folder and run the compileUiExtensions function to generate the admin-ui Angular app.
Make sure to install copyfiles before running the "copy" command:
While the Admin UI natively supports extensions written with Angular or React, it is still possible to create extensions using other front-end frameworks such as Vue or Solid. Note that creating extensions in this way is much more limited, with only the ability to define new routes, and limited access to internal services such as data fetching and notifications. See UI extensions in other frameworks.
If you are using Angular in your UI extensions and WebStorm is not recognizing the Angular templates, you can
add an angular.json file to the /src/plugins/<my-plugin>/ui directory:
This allows WebStorm's built-in Angular support to recognize the Angular templates in your UI extensions. Note that depending
on your folder structure, you may need to adjust the path to the schema file in the $schema property.
If you are using Angular in your UI extensions and VS Code is not recognizing the Angular templates, you can
add an empty tsconfig.json file to the /src/plugins/<my-plugin>/ui directory:
This works around the fact that your main tsconfig.json file excludes the src/plugins/**/ui directory,
which would otherwise prevent the Angular Language Service from working correctly.
Prior to Vendure v2.1.0, the API for extending the Admin UI was more verbose and less flexible (React components were not supported at all, for instance). This API is still supported, but from v2.1 is marked as deprecated and will be removed in a future major version.
This section describes the legacy API.
Angular uses the concept of modules (NgModules) for organizing related code. These modules can be lazily loaded, which means that the code is not loaded when the app starts, but only later once that code is required. This keeps the main bundle small and improves performance.
When creating your UI extensions, you can set your module to be either lazy or shared. Shared modules are loaded eagerly, i.e. their code is bundled up with the main app and loaded as soon as the app loads.
As a rule, modules defining new routes should be lazily loaded (so that the code is only loaded once that route is activated), and modules defining new navigations items and custom form input should be set to shared.
"lazy" modules are equivalent to the new "routes" API, and "shared" modules are equivalent to the new "providers" API. In fact, behind the scenes, the new APIs are automatically creating these modules for you.
Here's a very simple Angular component which displays a greeting:
Next we need to declare an Angular module to house the component:
The SharedModule should, in general, always be imported by your extension modules. It provides the basic Angular
directives and other common functionality that any extension would require.
Now we need to tell the compileUiExtensions function where to find the extension, and which file contains the NgModule itself (since a non-trivial UI extension will likely contain multiple files).
Here's an example of the legacy API for defining a shared module:
If you have existing UI extensions written using the legacy API, you can migrate them to the new API as follows:
standalone: true and add an imports array containing any components, directives or pipes you are using in that component. Typically, you can import SharedModule to get access to all the common Angular directives and pipes, as well as the shared Admin UI components.<vdr-page-header> and <vdr-page-body> components, as they are included by default now when using
the registeRouteComponent() function:
NgModule files, and replace lazy modules with routes.ts, and shared modules with providers.ts (see above).Architecture reviews, custom plugin work, migrations, ongoing support. Get a hand from the team that builds Vendure.
Talk to the team