Creating Detail Pages
Setup
Info
This guide assumes you have a CmsPlugin with an Article entity, as covered in the Extending the Dashboard: Plugin Setup guide.
Detail pages can be created for any entity which has been exposed via the Admin API. Following the
above setup of the CmsPlugin will result in the following additions to your API schema:
Simple Detail Pages
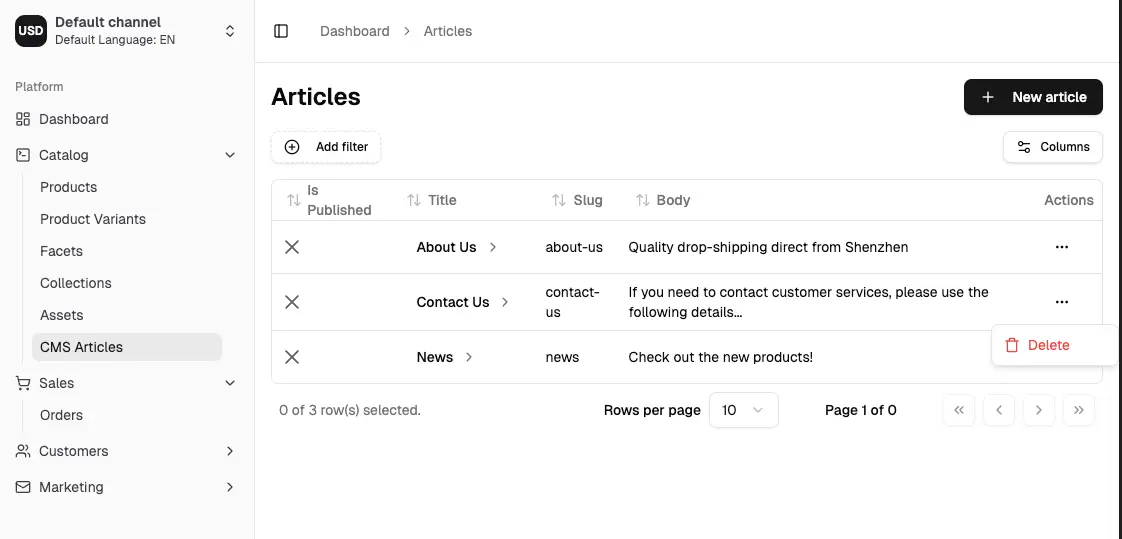
Now let's create a detail page so we can start adding articles.
We'll begin with the simplest approach, where the form will be auto-generated for us based on the GraphQL schema using the DetailPage component. This is useful for quickly getting started, but you can also to customize the form later on.
Create a new file called article-detail.tsx in the ./src/plugins/cms/dashboard directory:
Now we can register this route in our index.tsx file:
You should now be able to click on the "New article" button in the list view, and see the detail page:
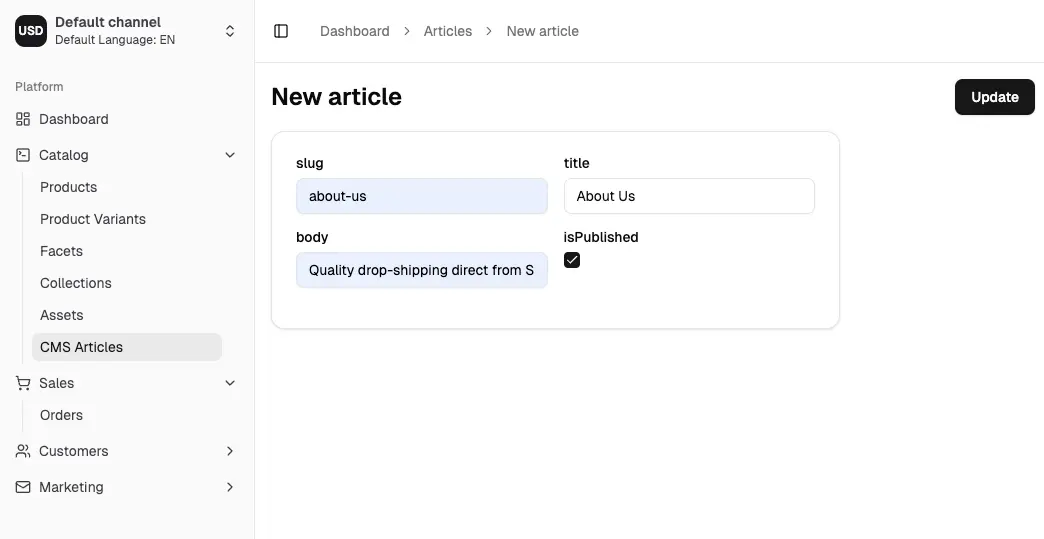
Congratulations! You can now add, edit and delete articles in the dashboard.
Customizing the detail page
The auto-generated DetailPage is a great way to get started and quickly be able to interact with your entities. But let's now see how we can fully customize the layout and form fields.
In the above example, we have:
- Used the Page, PageTitle, PageActionBar and PageLayout components to create a layout for our page.
- Used PageBlock components to structure the page into blocks.
- Used FormFieldWrapper around form components for consistent styling and layout of inputs.
- Used custom form components (such as the RichTextInput) to better represent the data.
Was this chapter helpful?